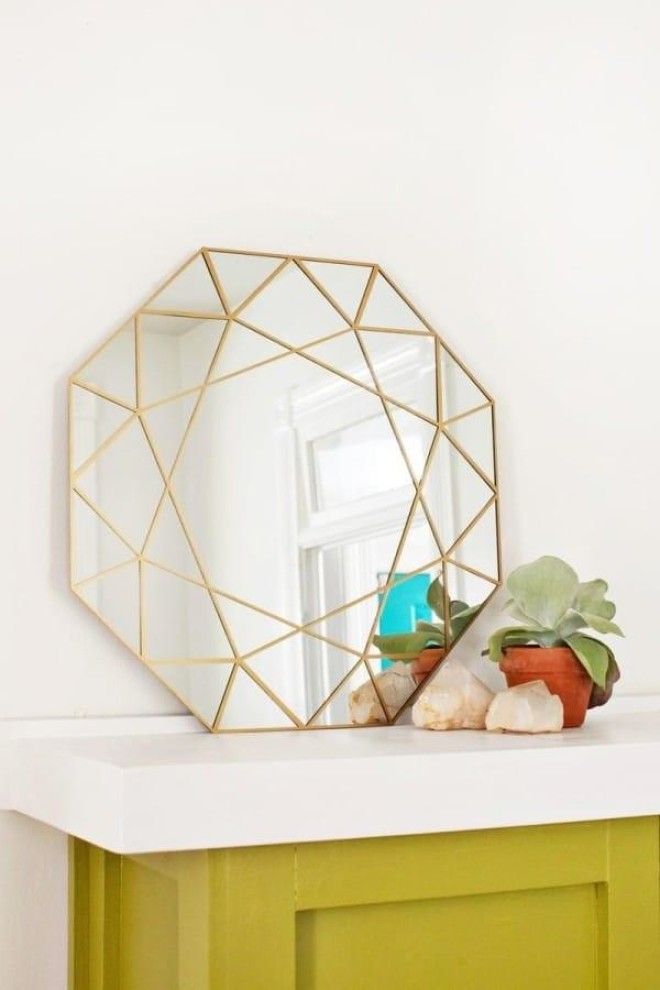
Any opportunity to spruce things up a bit using my tool kit is a welcome one. Whether upcycling some of my old junk, like with this DIY tire ottoman, or building something in my yard, like this swing for the front porch, I love improving things around my house with new homemade additions.
And when I saw this latest one, I knew I just had to try it.
I found this DIY project on A Beautiful Mess, where Laura Gummerman makes her very own beautiful gem mirror. With the help of her friend Josh, Laura creates an amazing addition to her living room using only a mirror, a handheld glass cutting tool, contact paper, an X-Acto knife, and some gold and clear spray paint.
This gem mirror got me very excited to spruce up my house even more by tackling this awesome DIY project.
In order to tackle this cool mirror project, Laura first had to overcome her fear of sharp objects. She writes, "I had wanted to try mirror cutting for awhile now, but just the sound of it gave me the shivers. However, life is for facing and conquering your fears, right? I looked up a few tutorials on the technique and I was shocked at what I found — it looked so easy to do."
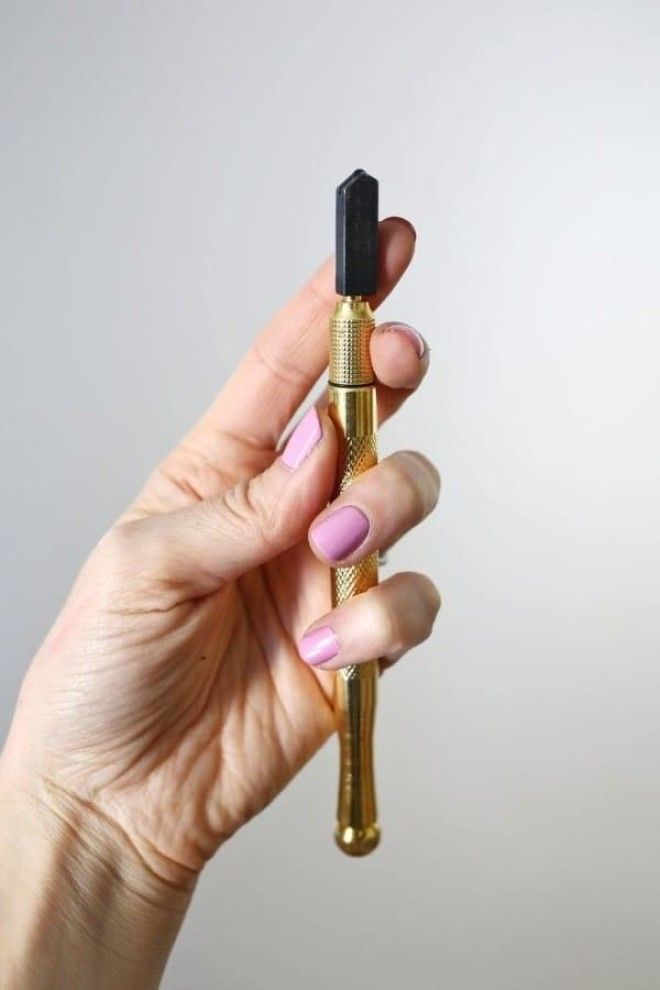
"I'd been wanting to make a gem mirror for awhile, and I thought this would be the perfect technique to learn in order to achieve that goal. Let'd do it!" Laura and Josh began by using the glass cutterto cut the mirror into a square.
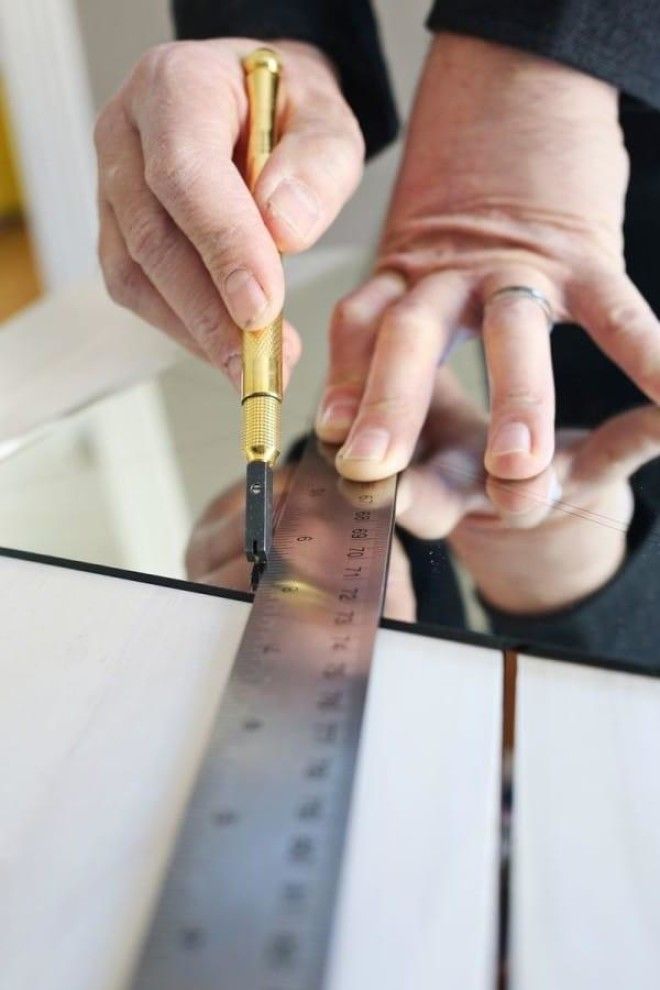
After scoring the mirror with the knife, they lined up the mirror with the edge of the table and snapped the extra piece right off. "It's a bit scary to actually go through with the breaking part. But once you do... the mirror only makes a tiny snapping sound."
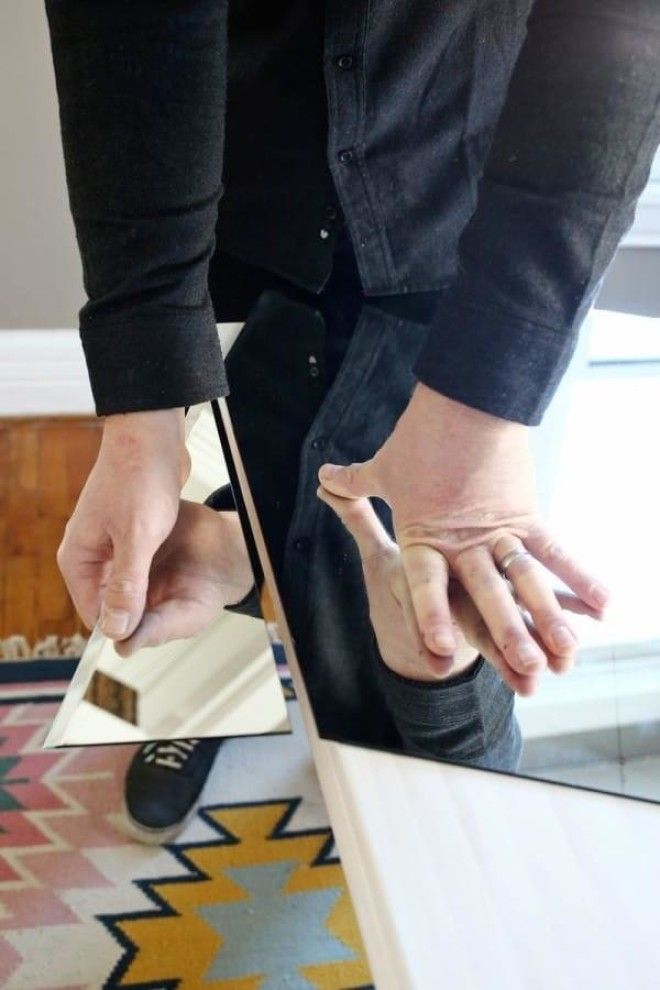
Laura said that while Josh didn't wear gloves during this process, she was sure to wear gloves and eye protection just to be on the safe side. After the mirror was a perfect square, they scored and snapped off the other four corners to make an octagon.
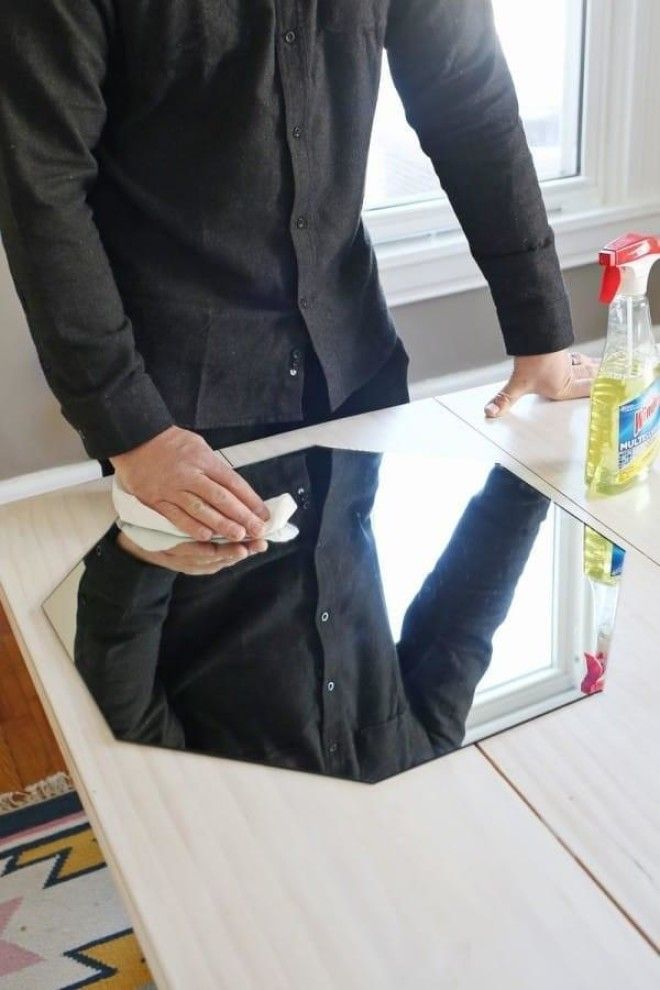
Now that the mirror was the right shape, it was time for them to create gem lines! Laura and Josh covered the entire mirror in contact paper and used the X-Acto knife and a ruler to slice out the gem lines. While the design looks complex, Laura writes, "It's a lot easier than you'd think."
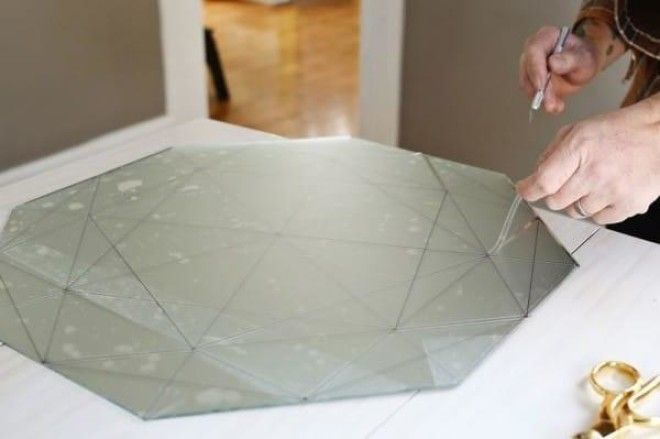
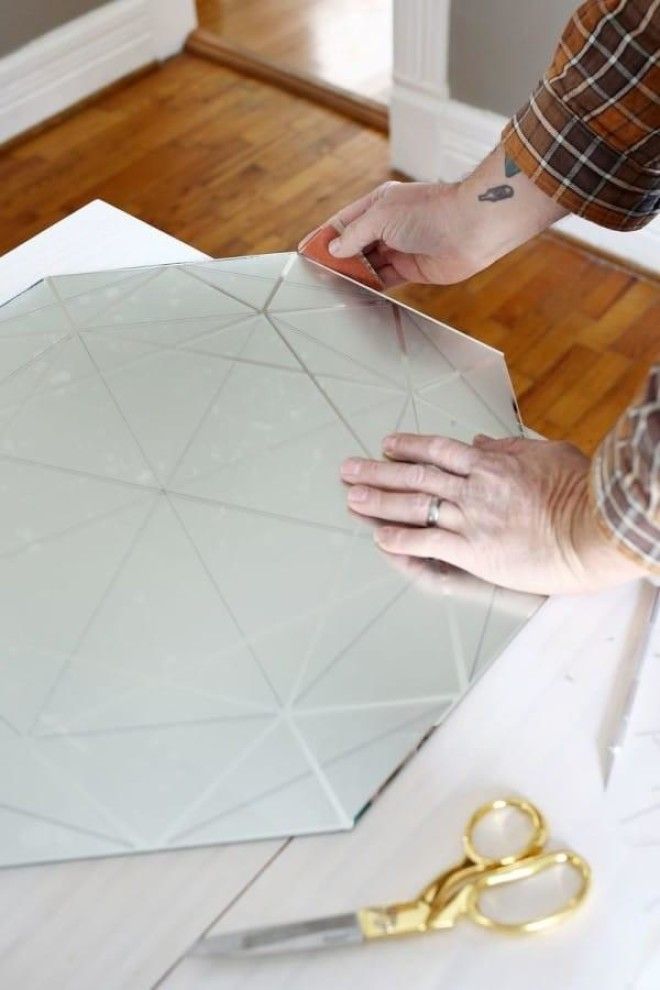
Next, Laura and Josh peeled off all of the gem lines that they had cut to expose the mirror beneath, leaving the contact paper on the remaining areas. Josh also sanded the edges of the mirror to make sure there weren't any sharp spots.
Then the fun part came in. Laura spray painted the whole mirror with a few coats of gold and one final coat of clear paint. They then lifted the corners of the contact paper and peeled them off. Laura writes, "I love this part. There's something so satisfying about peeling off each square to reveal the design, isn't there?"
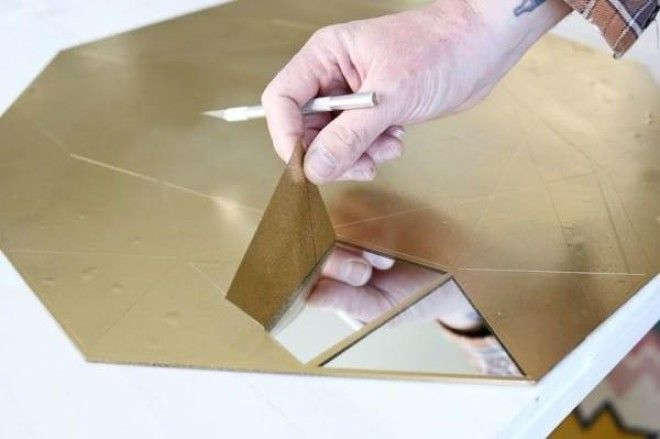
Once all the contact paper was removed, the cool gold gem design remained and the mirror was ready to be displayed!
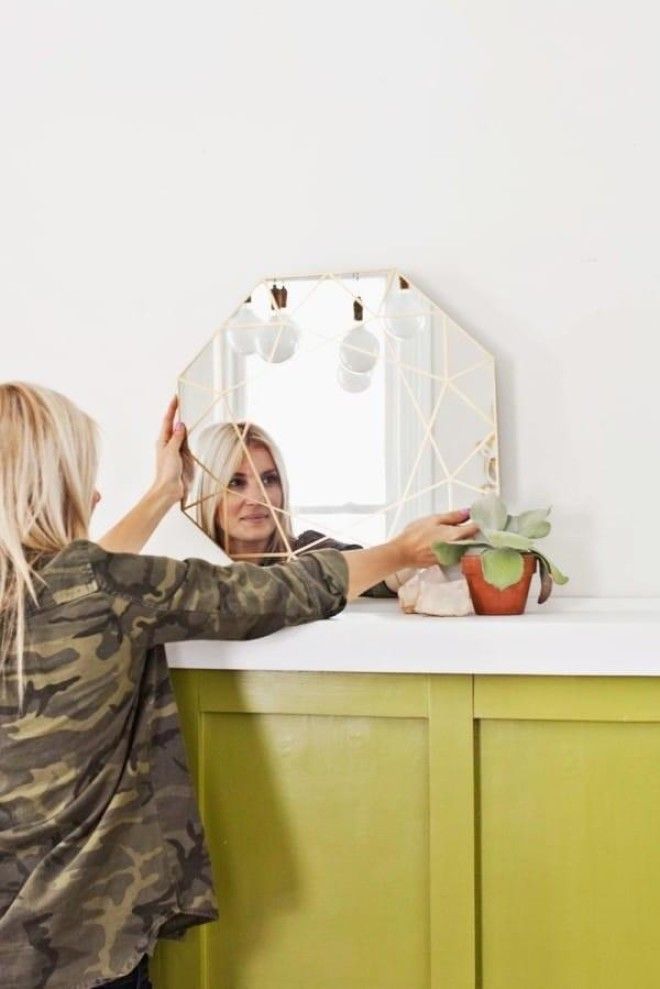
"You can either set the mirror on a ledge or shelf like I did, or you can get mirror clips to install the mirror on a wall."
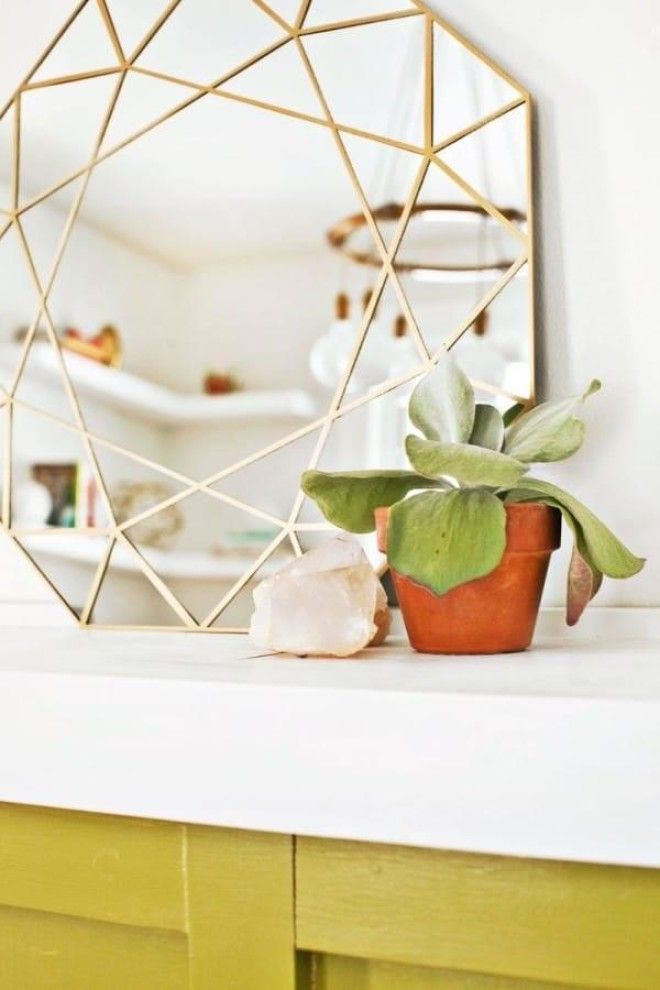
Laura's project is a perfect addition to her home. "I think the final result of our mirror is adorable and looks totally profesh!"
