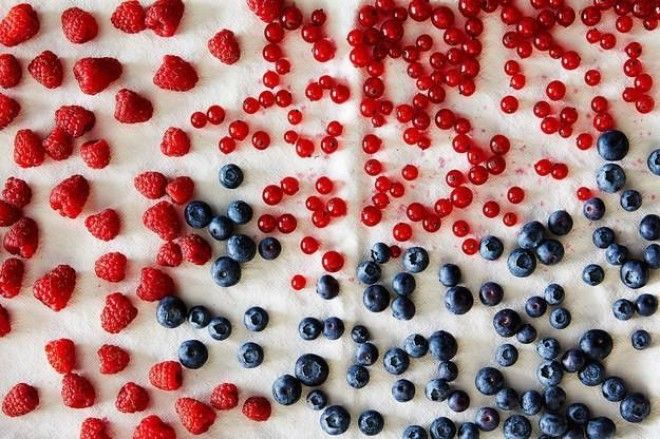
Remember to sample before buying and decide if the berries have the bright and berry-licious flavor you expect. When you bring berries home, pick over them to remove any stems or leaves, then refrigerate. For best results, start jamming the same day you buy the fruit.
2. Gather the other ingredients.
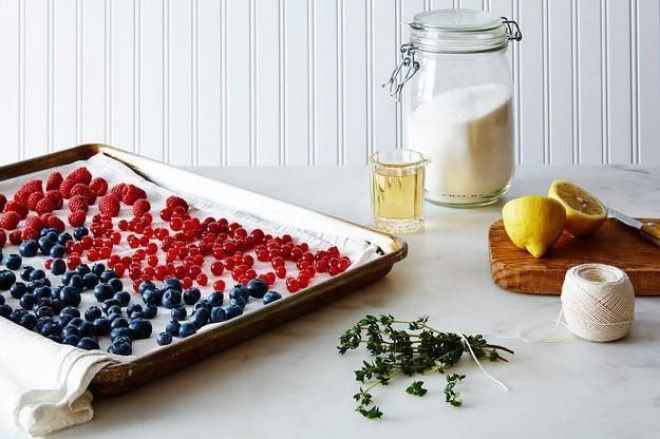
In addition to the berries, you’ll need sugar and a lemon. You may want to add herbs: Lemon verbena is my favorite, but lemon thyme, lemon balm, and lemon zest are all good choices (see a theme here?). Stick with one type of herb so the flavor really comes through.
3. Make the fruit mixture.
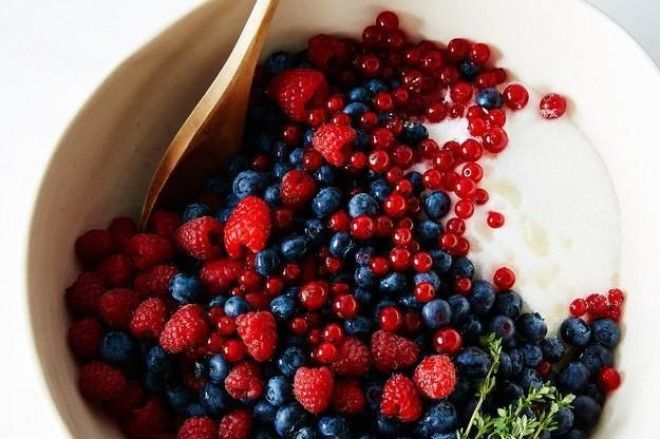
Begin with 8 cups (4 pints) of berries and 3 cups of sugar in a big bowl. If you want herbs, add about six sprigs tied together with twine. Squeeze in the juice of one lemon and stir well. If working with fruits with a sturdy skin, use a potato masher to smash some of the fruit.
4. Wait.
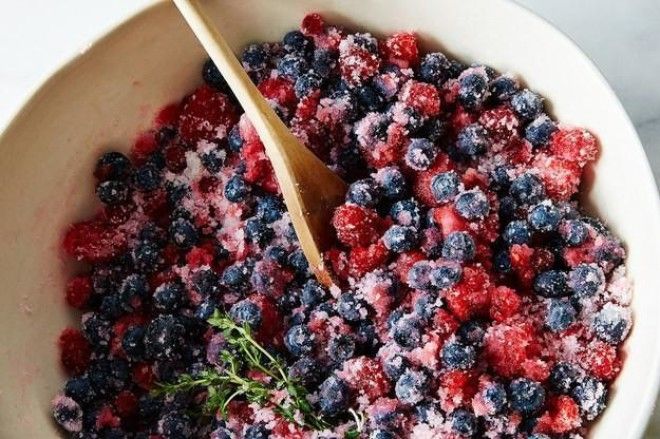
Cover the bowl and let the flavors develop for at least two hours on the counter, or stash the bowl in the refrigerator for a day or even two days before proceeding.
5. Separate the syrup from the fruit.
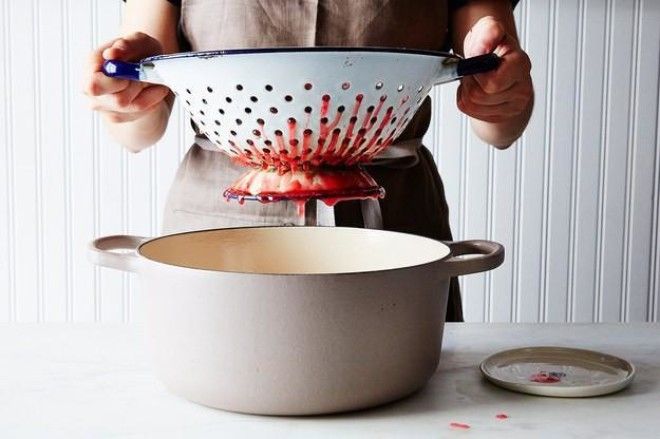
Place a colander over a preserving pot and pour in the fruit mixture, so the syrup goes into the pot and separates from the fruit. Let it drip for a few minutes, then place the colander in a bowl to catch any additional syrup. Remove and dispose of the herb bundle.
6. Cook.
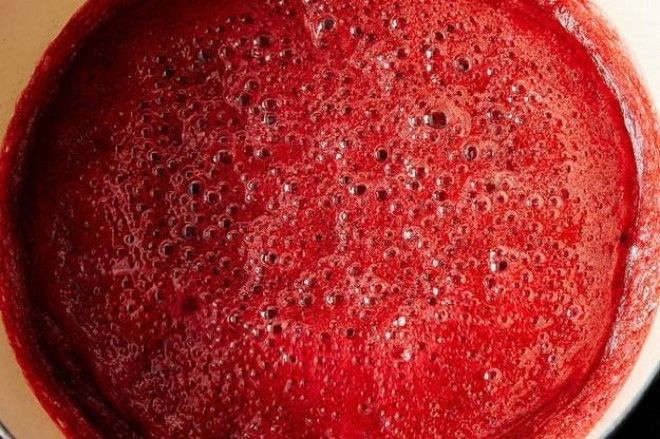
Clip on a candy thermometer, turn the heat to high and bring the syrup to 220° F, the soft gel stage in candy-making terms. Some people hate the seeds in raspberry and blackberry jams. If you are on the no-seed team, run the fruit through a food mill before returning it to the preserving pot. I usually put half the strained berries through the food mill because I like some seeds but not too many.
7. Cook (with fruit!).
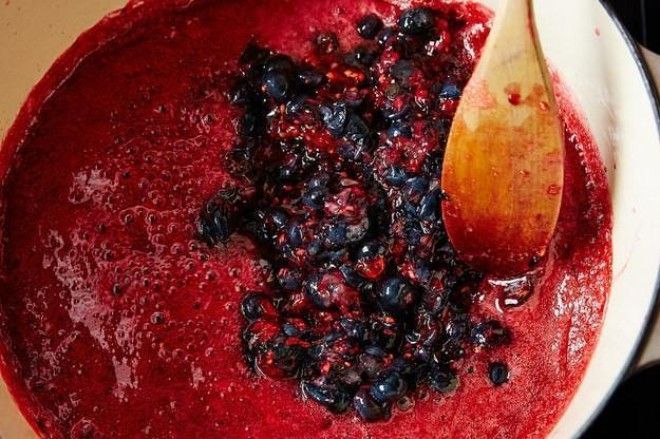
Once the syrup has reached temperature (220° F), add the berries back from the colander (and any accumulated syrup). Keep the heat high and do not stop stirring. It will come to a big boil—a scary boil. There may be spitting hot sugary jam. Be brave. Stir until the fruit is no longer floating and there is only a little bit of foam on the surface.
8. Stop cooking.
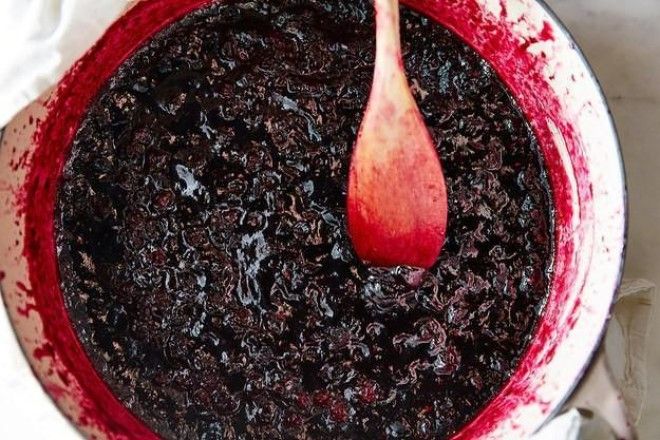
Remove the preserving pot from the heat, and let cool for two minutes. With a spatula or wooden spoon, gently press against the surface of the preserves: It should wrinkle slightly. (If it doesn’t, place the pot back on the heat and test again after two or three minutes at a hard boil.)
9. Add booze (if you’d like).
This next bit is completely optional, but it’s a very nice touch: Off the heat, add a slug (a heavy tablespoon) of liquor, liqueur, or sirop—I love St. Germaine or Cointreau. Add a knob of butter to clarify the gel and make the jam shiny. Stir well and thoroughly.
10. Jar.
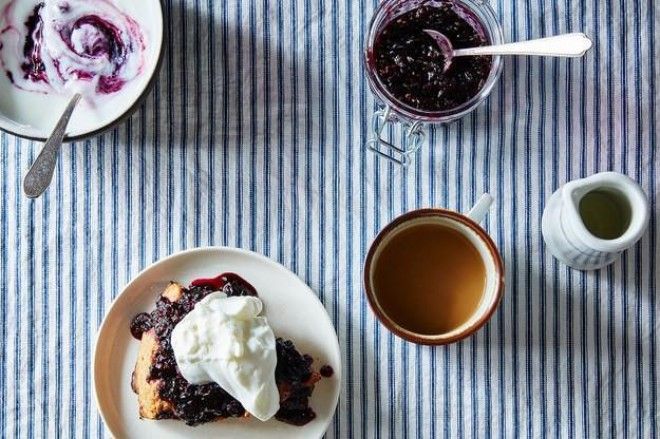
Ladle the preserves into four or five half-pint (8-ounce) jars. Store in the refrigerator for a month or so or, for shelf-stability, process the jars in a boiling water bath for 10 minutes following recommendations from the National Center for Home Food Preservation.
11. Eat!
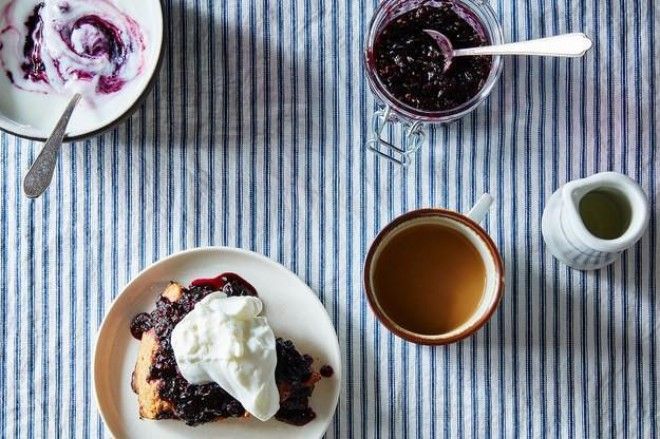
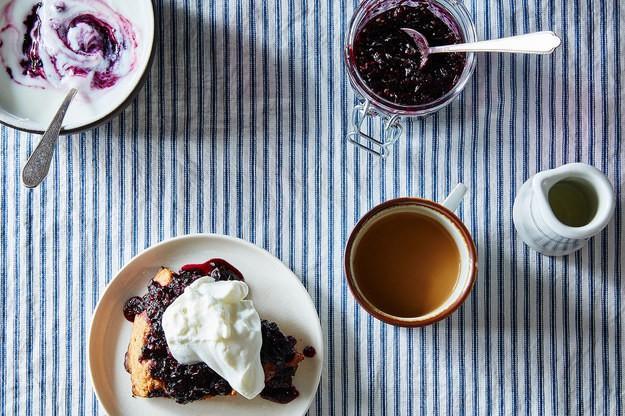
Enjoy in yogurt, with a scone, or right out of the jar.
