Pallets are used so often and in so many interesting ways in the DIY world, that it’s often hard to keep track of all the awesome projects out there.
I mean, just take a look at this unbelievable patio made solely out of pallets. Such creativity is enough to boggle your mind!
Yet, for all the beds and coffee tables made of pallets I — and countless other do-it-yourself devotees — have seen out there, you start to get a little bit of pallet-fatigue. “A wine rack made out of pallets? Big deal,” you begin to think.
But, once in a while, even a jaded DIY-er like myself sees a pallet project that perks them back up… And I found one that I fell absolutely in love with that I’m excited to share with all of you!
It’s simple, quick, and most importantly, relaxing. And the end result? It’s so incredibly cute, you have to see it with your own two eyes…
For this simple DIY project, all you need are a few everyday materials:
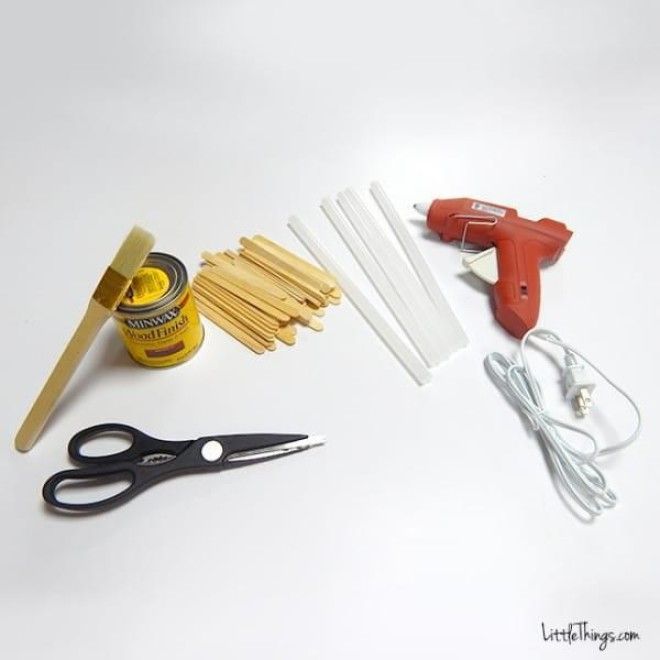
A glue gun, glue sticks, popsicle sticks, a small can of wood stain, a varnish brush, and a sharp pair of scissors.
Once I'd assembled my supplies, I spread out some newspaper and a plastic tarp, put on some gloves, opened up my can of stain, and laid out my sticks.
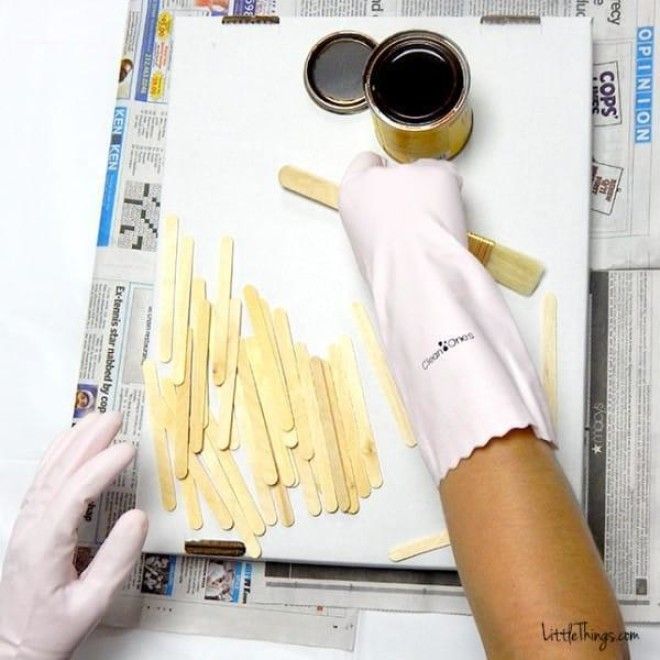
I then saturated my brush in the stain and began to paint my sticks.
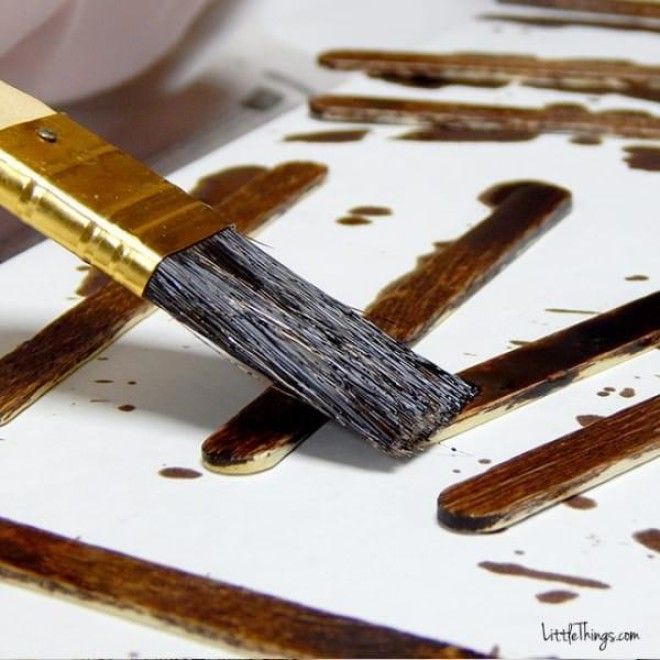
I suggest dabbing them and letting the stain really soak in rather than using a stroking motion with your brush.
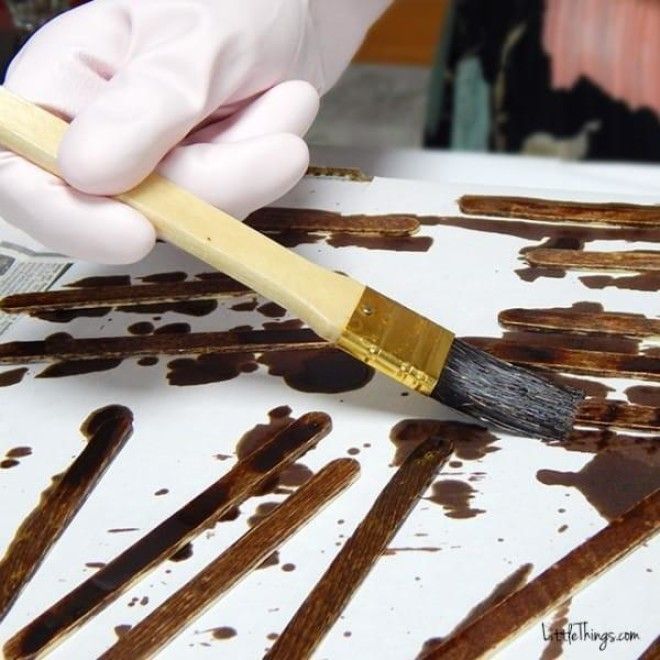
Personally, I found the process really relaxing.
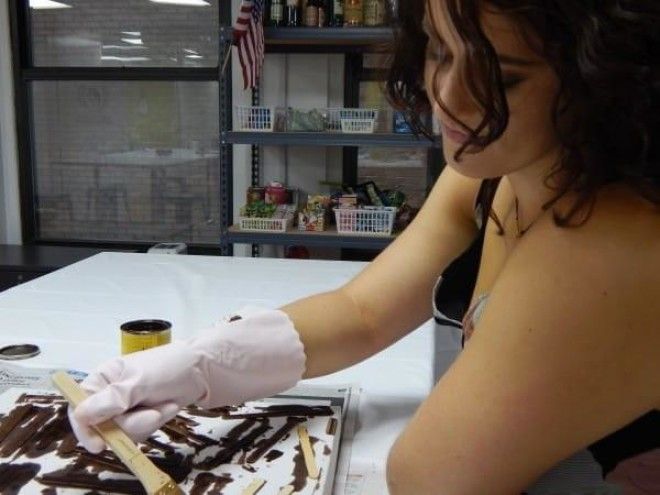
When I was done staining all the sticks. I let them dry for about 15 minutes.
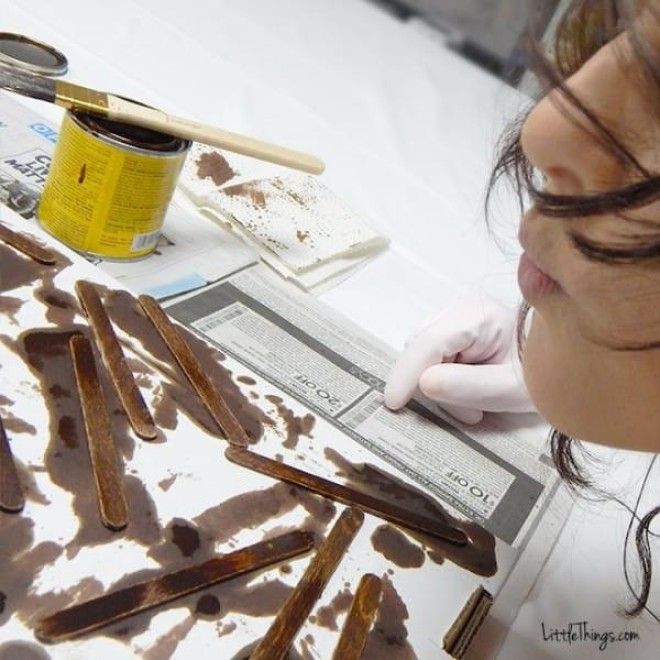
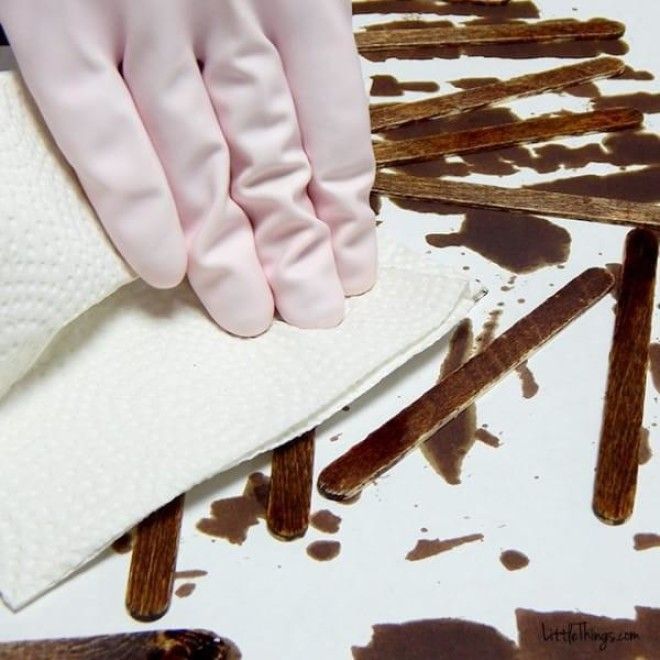
After 15 minutes the sticks will not be completely dry, but they will be stained. If there is any remaining liquid, just dab it off with a paper towel.
Next, I flipped over all my sticks and stained the other sides. I let them dry for another 15 minutes as well.
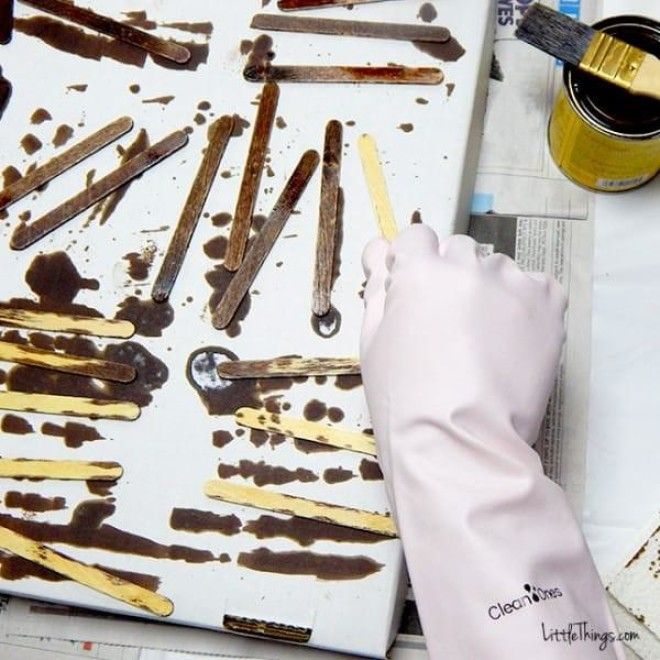
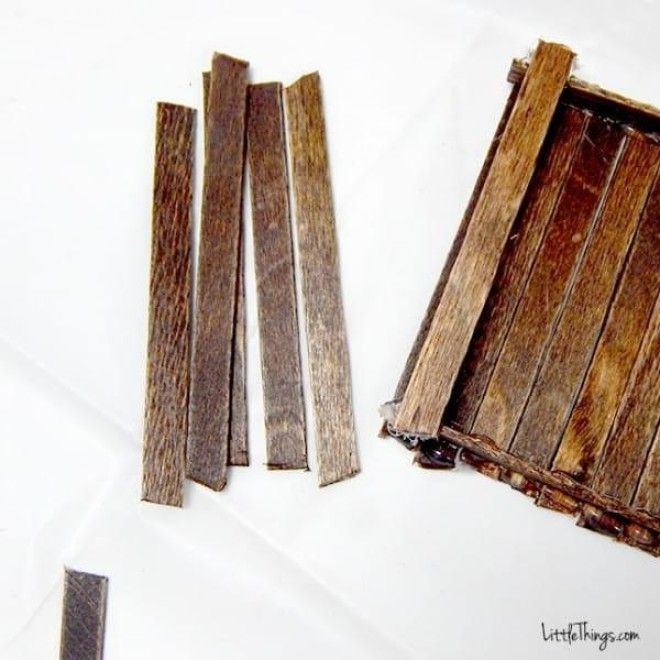
Once the sticks were completely stained, I needed to cut off the rounded tips and make them flat. I wanted all my sticks to be the same size, so I used an unstained stick as a template for all my sticks and snipped off the ends.
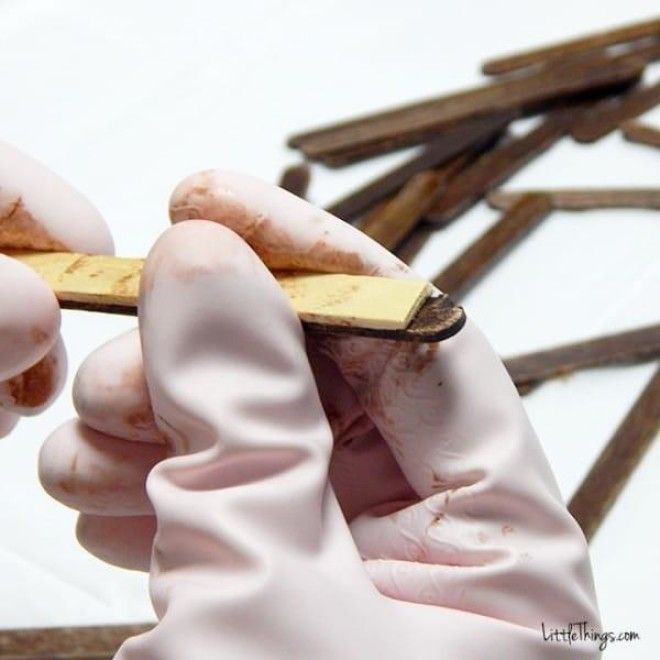
It’s really important to have a good, sharp pair of scissors for this portion of the project — it helps tremendously!
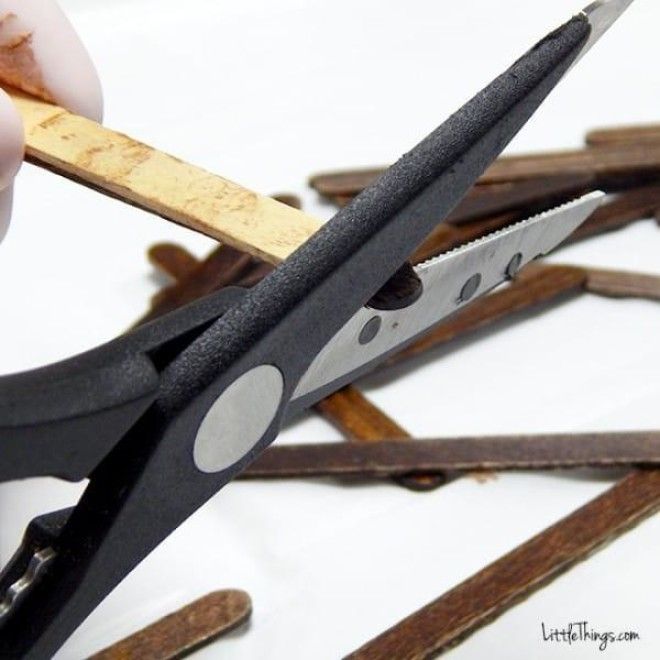
If you don’t have sharp scissors, a wire cutter works wonders, though the ends won’t be completely straight.
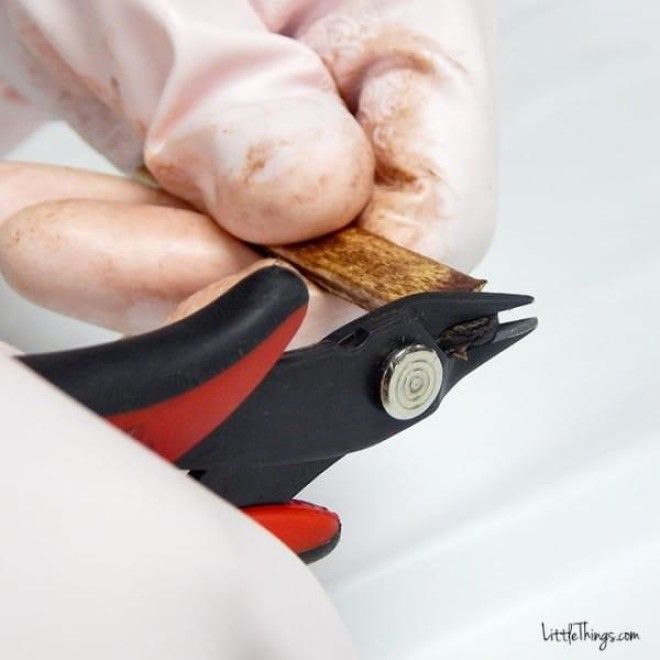
When I was done, my ends looked like this:
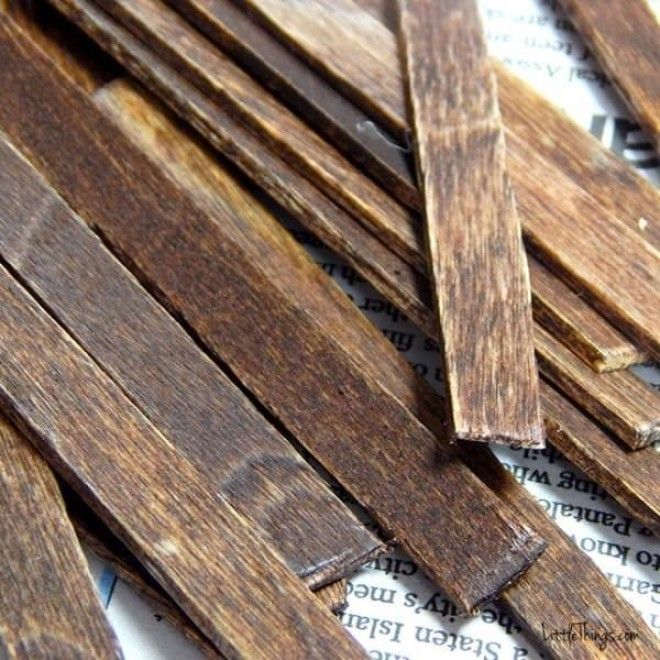
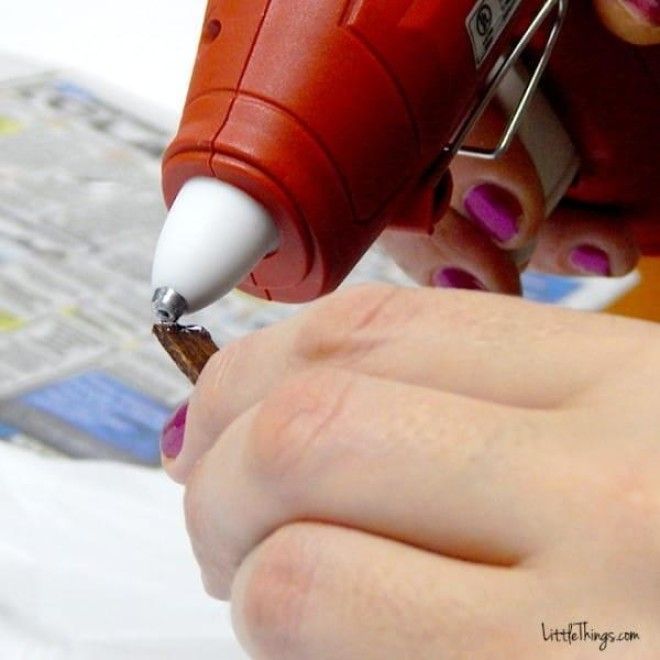
Next, I warmed up my gun and began applying glue to certain points of four sticks.
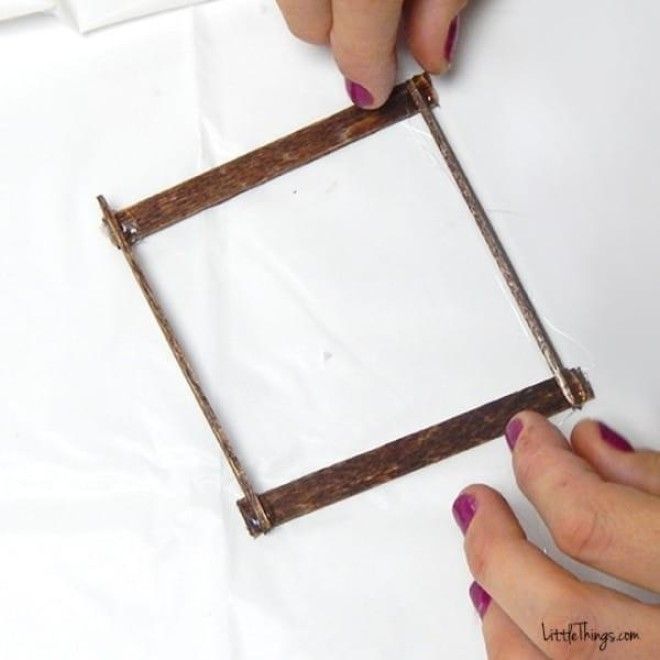
I then created this frame, consisting of two flat sticks topped by two sideways sticks.
I then began gluing sticks over the two sideways sticks.
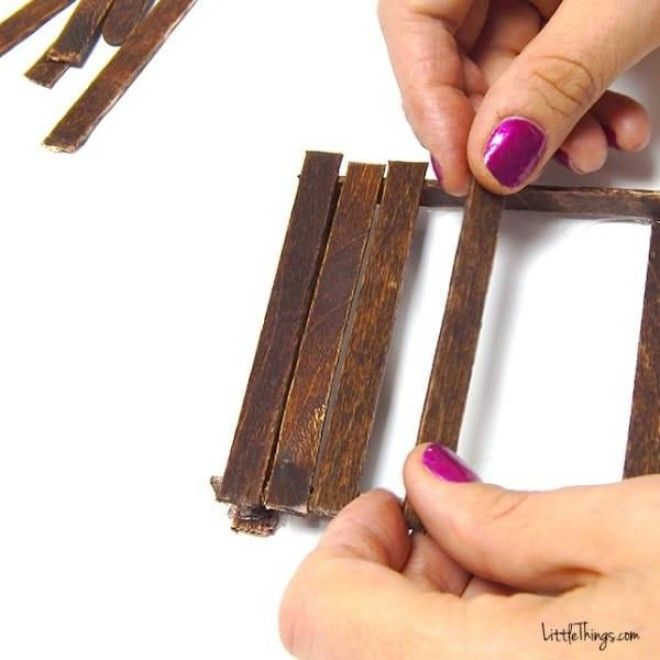
Make sure to stop and readjust your frame and sticks whenever things start to feel like they’re getting lopsided.
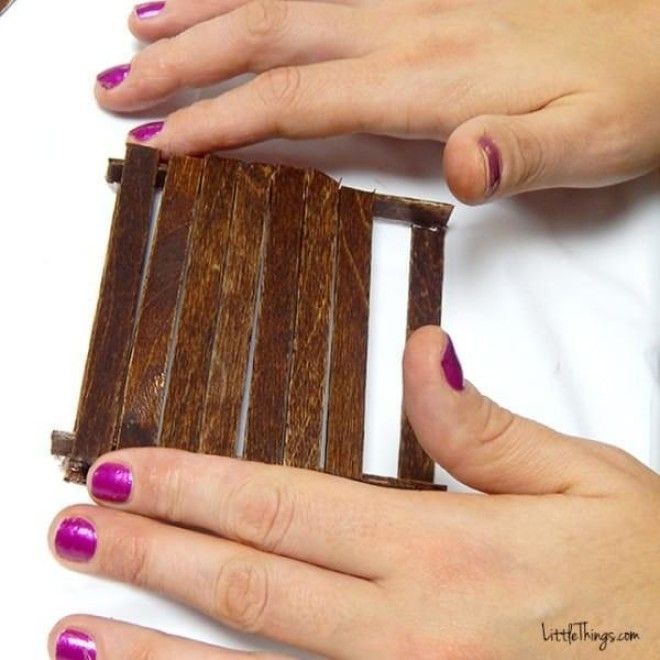
Once I was done with one side, I flipped it over.
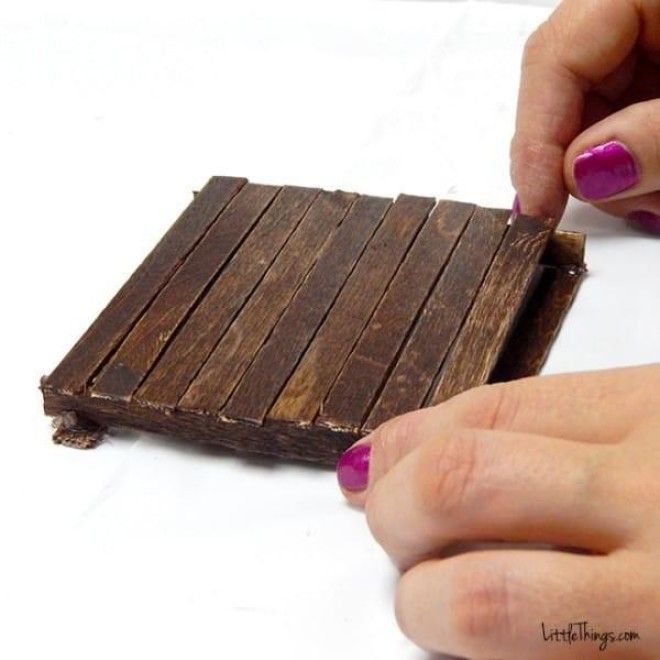
And I began gluing the other side.
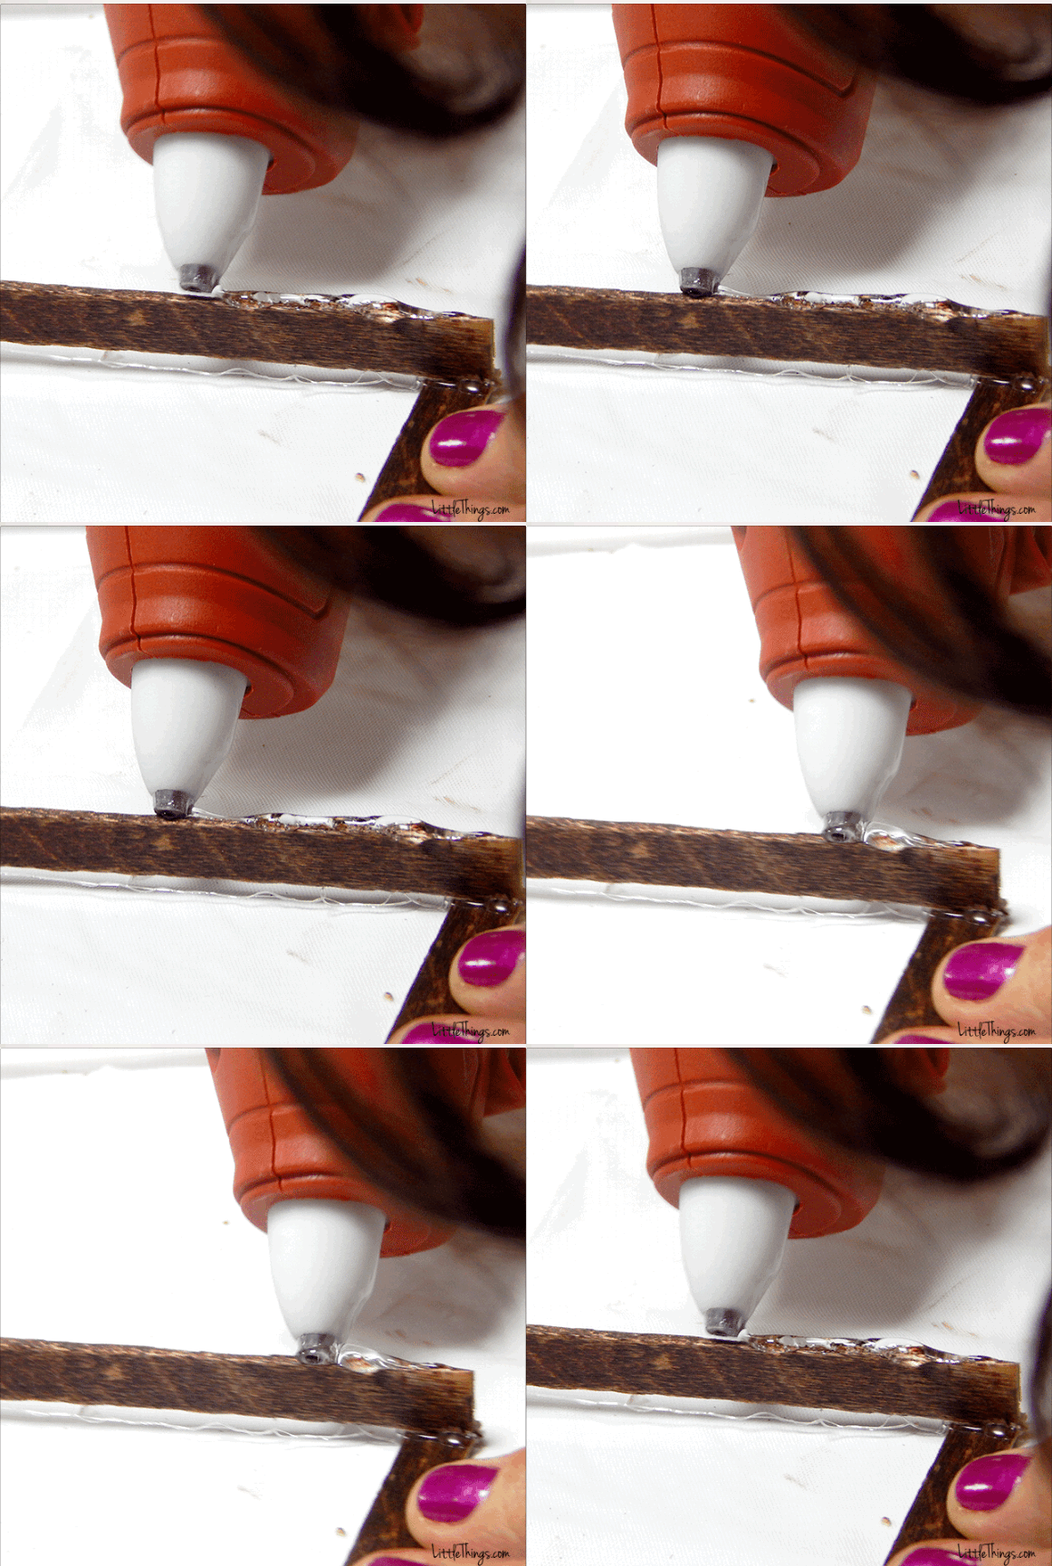
For this side, I repeated the same exact steps until it was completely covered.
When I was done, I had an adorable teeny-tiny pallet that I can use as the world's most adorable coaster!
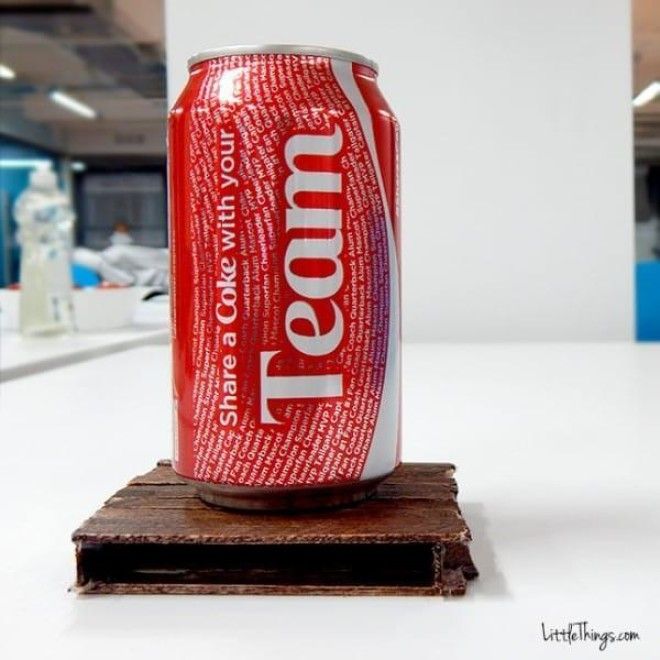
Like so many other amazing DIY projects out there, this craft takes something simple — like coasters — and makes them fun and quirky.
Is this something you’d like to make — or do you prefer plain ole’ coasters that just do their job? Let us know in the comments below!

