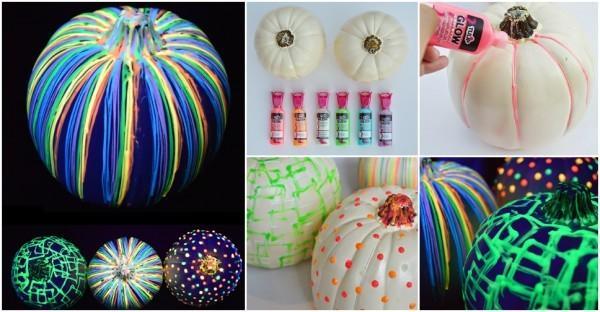
- Plastic pumpkins (You can use real pumpkins too.)
- Glow in the dark paint
You will need:
*Plastic Pumpkins
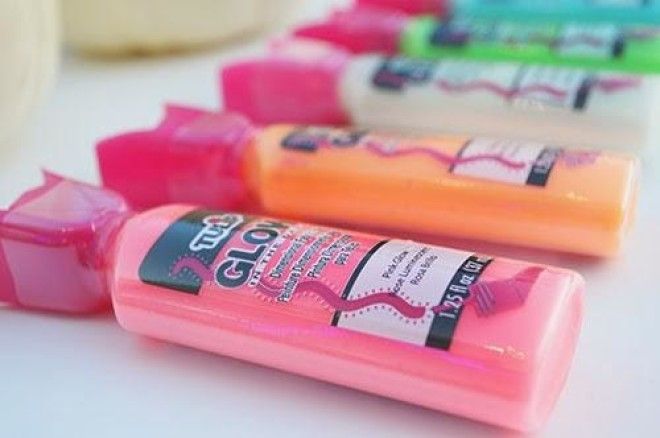
*Tulip Glow in the Dark Paint
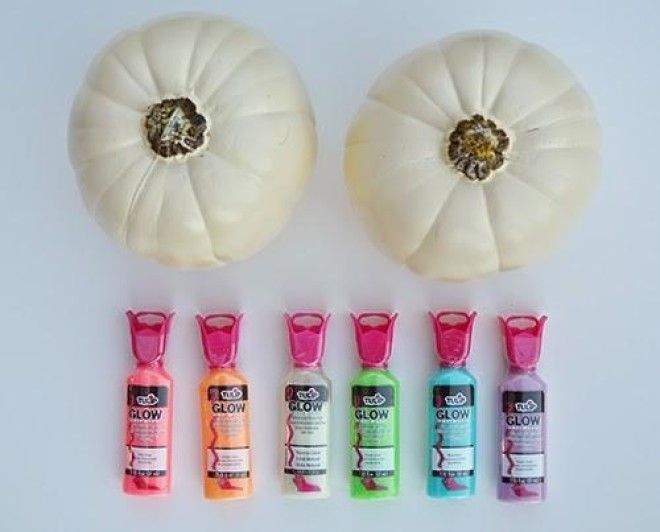
I couldn't just use one particular color for this project so I used all of them! I figured when they are not under a black light they will still look fabulous and chic!
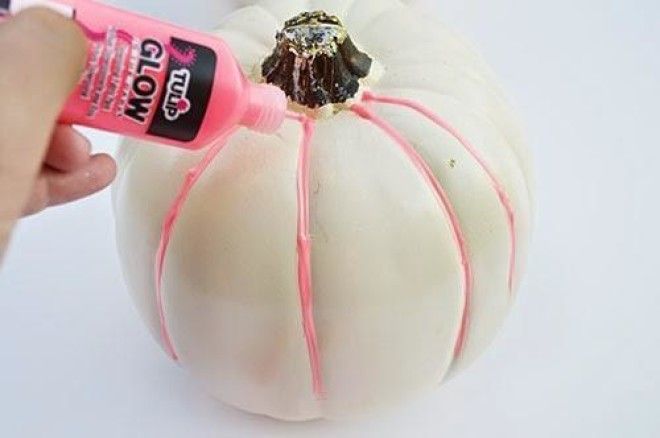
Step One: Grab your neon paint and start at the top of the pumpkin drawing thin, squiggly lines up and down. You can go to the middle of the pumpkin with the lines or go to the very bottom. It's completely up to you. I wanted to make it look like the lines were dripping down on the first pumpkin.
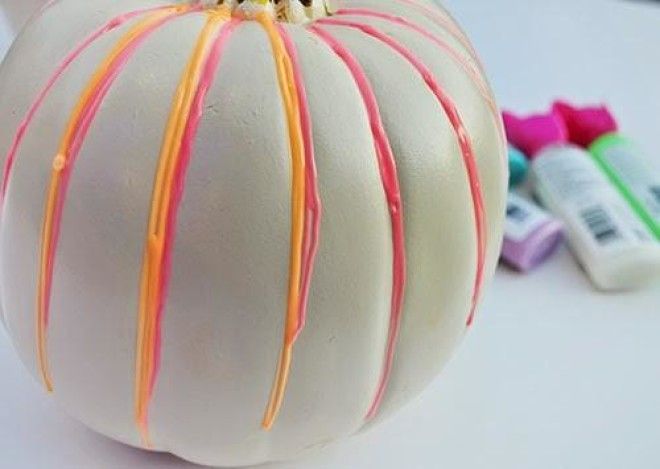
Step Two: Grab your next color and start adding it right next to your first color. You will repeat this process until your pumpkin is filled in. I like to leave a few white sections showing on my pumpkins to add some negative space.
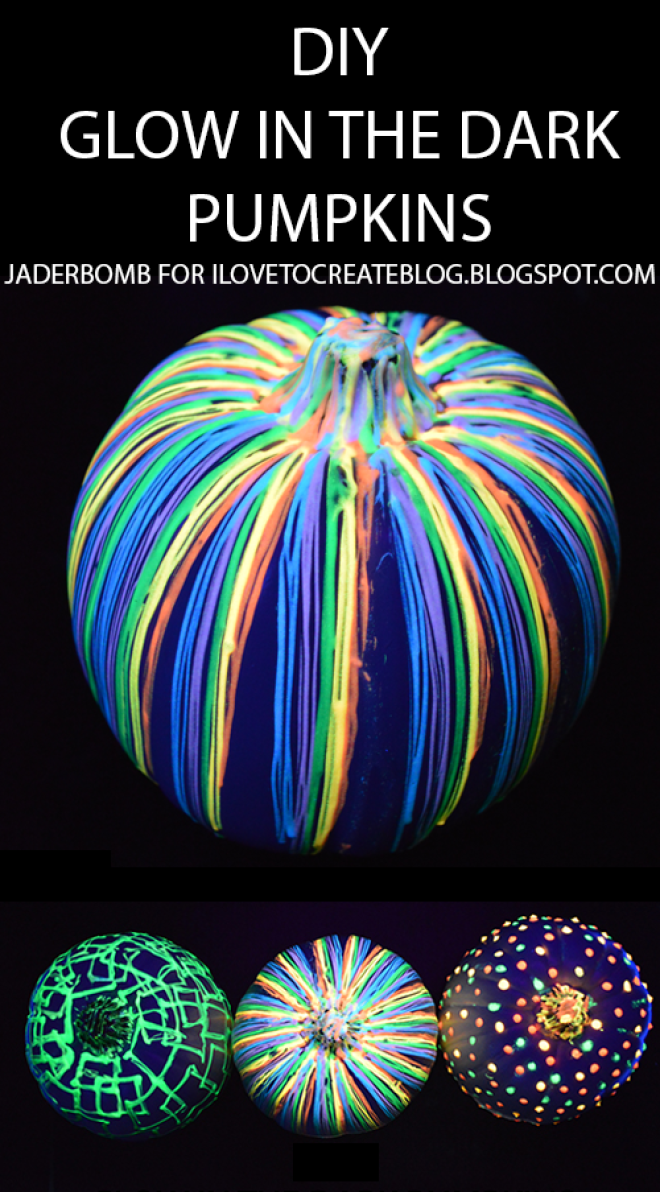
For the other two pumpkins I added dots using the bottle of paint. For this one I wanted to create a candy button design. For the next design I drew abstract squares on top of each other. I wanted it to look very geometric.
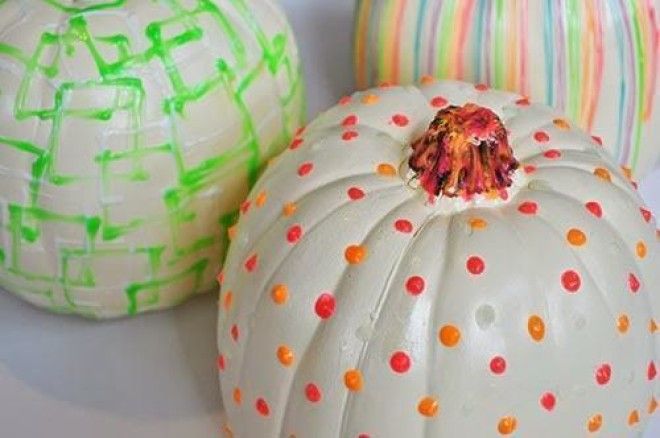
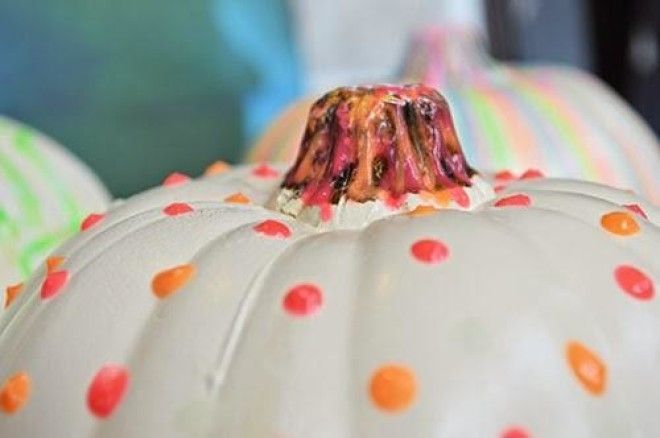
You can even paint the stem of your pumping to add some flare to it!
Time for the action! Putting them to the actual test, under a black light. I am so pleases with how they came out. This Glow in the Dark paint is magnificent! I love how each color lights up differently.
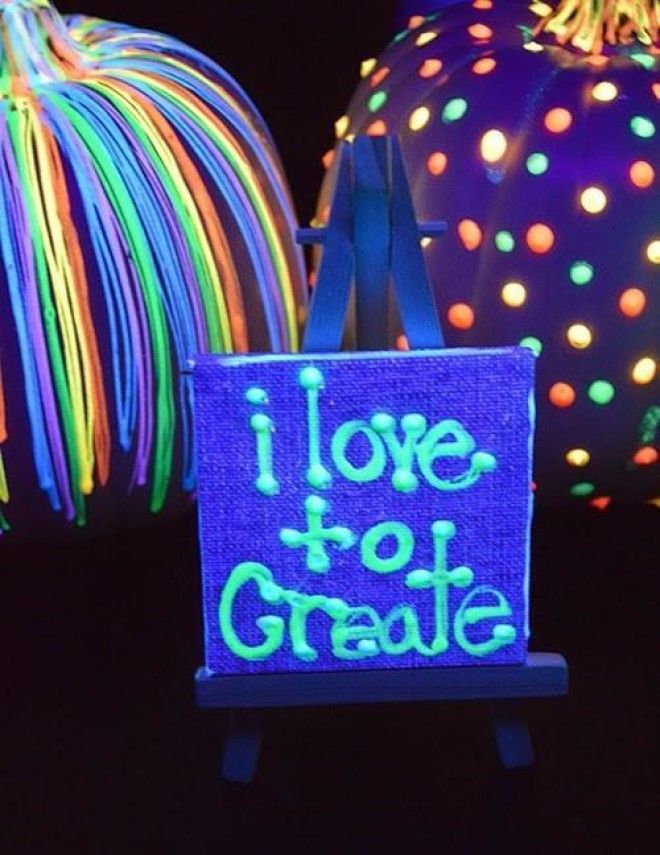
I think the green paint is my favorite. To me, it actually shows up the best under a black light.
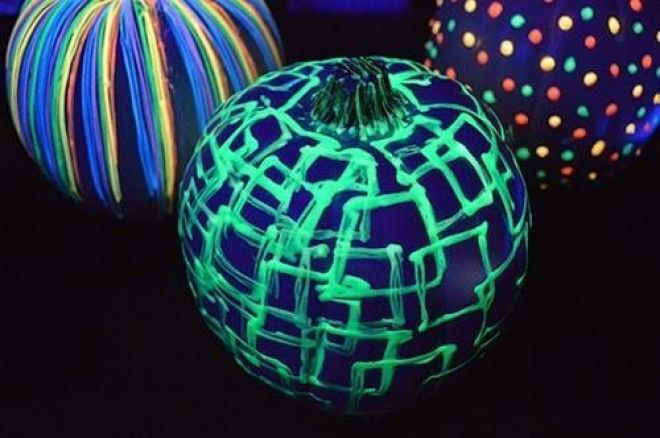
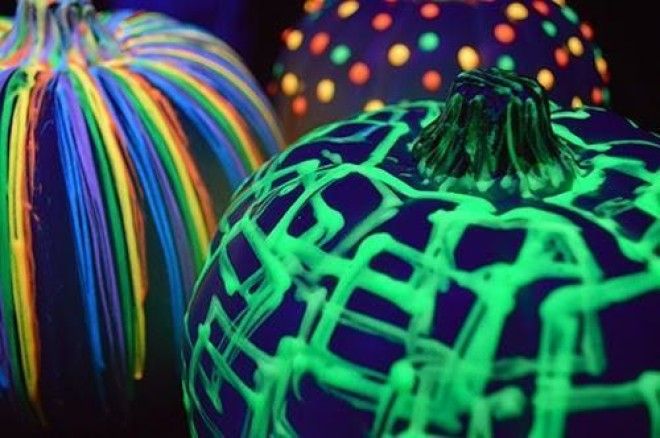
They look so yummy I want to eat them! Just have fun with your designs because anything will look great once it's lit up!
